 Screenshots Screenshots
 |
|
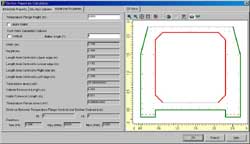
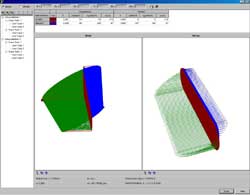
 Calculation results of floor area Calculation results of floor area
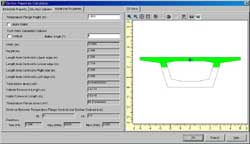 |
Calculation results
(inside/outside formwork)
 |
|
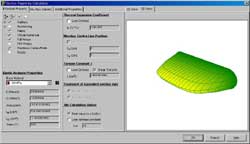
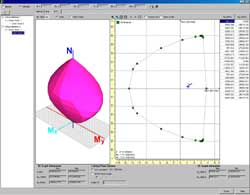
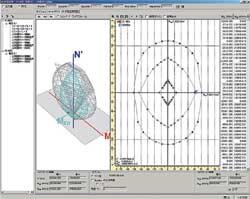
3D View in torsion constant
(elliptical pier section)
 |
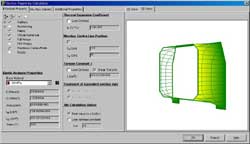
3D View in torsion constant
(elliptical pier section)
 |
|
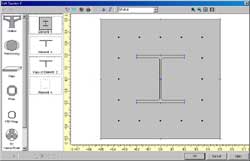
Compilation using the template
(SRC structural section)
 |
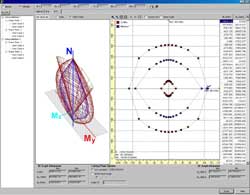
M-N interaction curve (elliptical pier section)
 |
|
Compilation using the template
(elliptical pier section)
 |
Compilation using the template
(elliptical pier section)
 |
|
M-N interaction curve
(aqueduct bridge superstructure section)
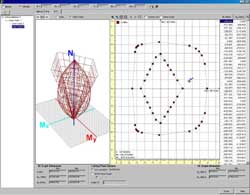 |
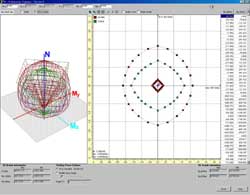
M-N interaction curve (box girder section)
 |
|
M-N interaction curve (box girder section)
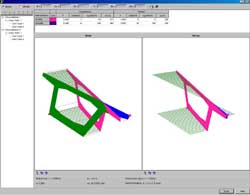 |
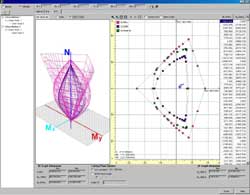
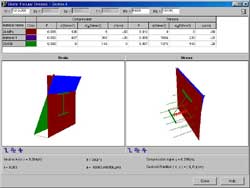
3D View of stress distribution
(elliptical pier section)
 |
|
3D View of stress distribution
(SRC structural section)
 |
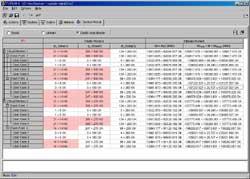
List of section result
(with the consideration of biaxial bending)
 |
|
FRAME(3D) stress resultant extraction
 |
Load case setup screen
 |
|
Calculation result stress
 |
Calculation result MN figure
 |
Page Top  |
